 | ||||
| Here are some things that I have made lately. I wanted to show you how easy they were to do for some gifts. Too bad I didn't think of this before Christmas! | This is a easy one! Find some cute patterned knee socks, ( I found these at the dollar store!), cut off the part that would go on your foot. Fold up the bottom and hem. That's it! Great for little ones- makes for easy diaper changes. |

 | |
| I got this idea from another blog I read- www.makeit-loveit.com. | I used a different wearable blanket Livi already had to trace an outline.Sew up the sides. Don't be like me- i got carried away and accidentally sewed the arm holes shut too!;) Putting in the zipper can be a little tricky if you have never done it. Cut the fabric down the middle. Line up the zipper up, fold over the fleece and sew closely to the zipper. I left like a V neck on the top, but if you were going all the way up, you might want to make a little flap extra and sew it over the top of the zipper- like the store bought ones... Last finishing touch- I used my silhouette and cut out the words "sweet pea" b/c she just looked like one all bundled up in her cute green little "snuggle suit!" |
 |
| Easy with the Silhouette- I used some "Steam a seam" interfacing, I can't make myself break down and buy the silhouette brand ones yet. I had to do a couple of cuts, but finally got it to work! Ironed it on and Voila! These were for my nieces for Christmas. |
 |
| How to: Wrap a wider ribbon around a foam wreath base. You can glue or pin it. Then cut lots of ribbon, about 3-4 in. long, loop it around and put a straight pin in it. You could probably hot glue it, but be careful with cramming you fingers in there too! Keep going till it looks really full. Then you have a cute wreath. I was thinking a Christmas on would be cute with different shades of red and green ribbons. |

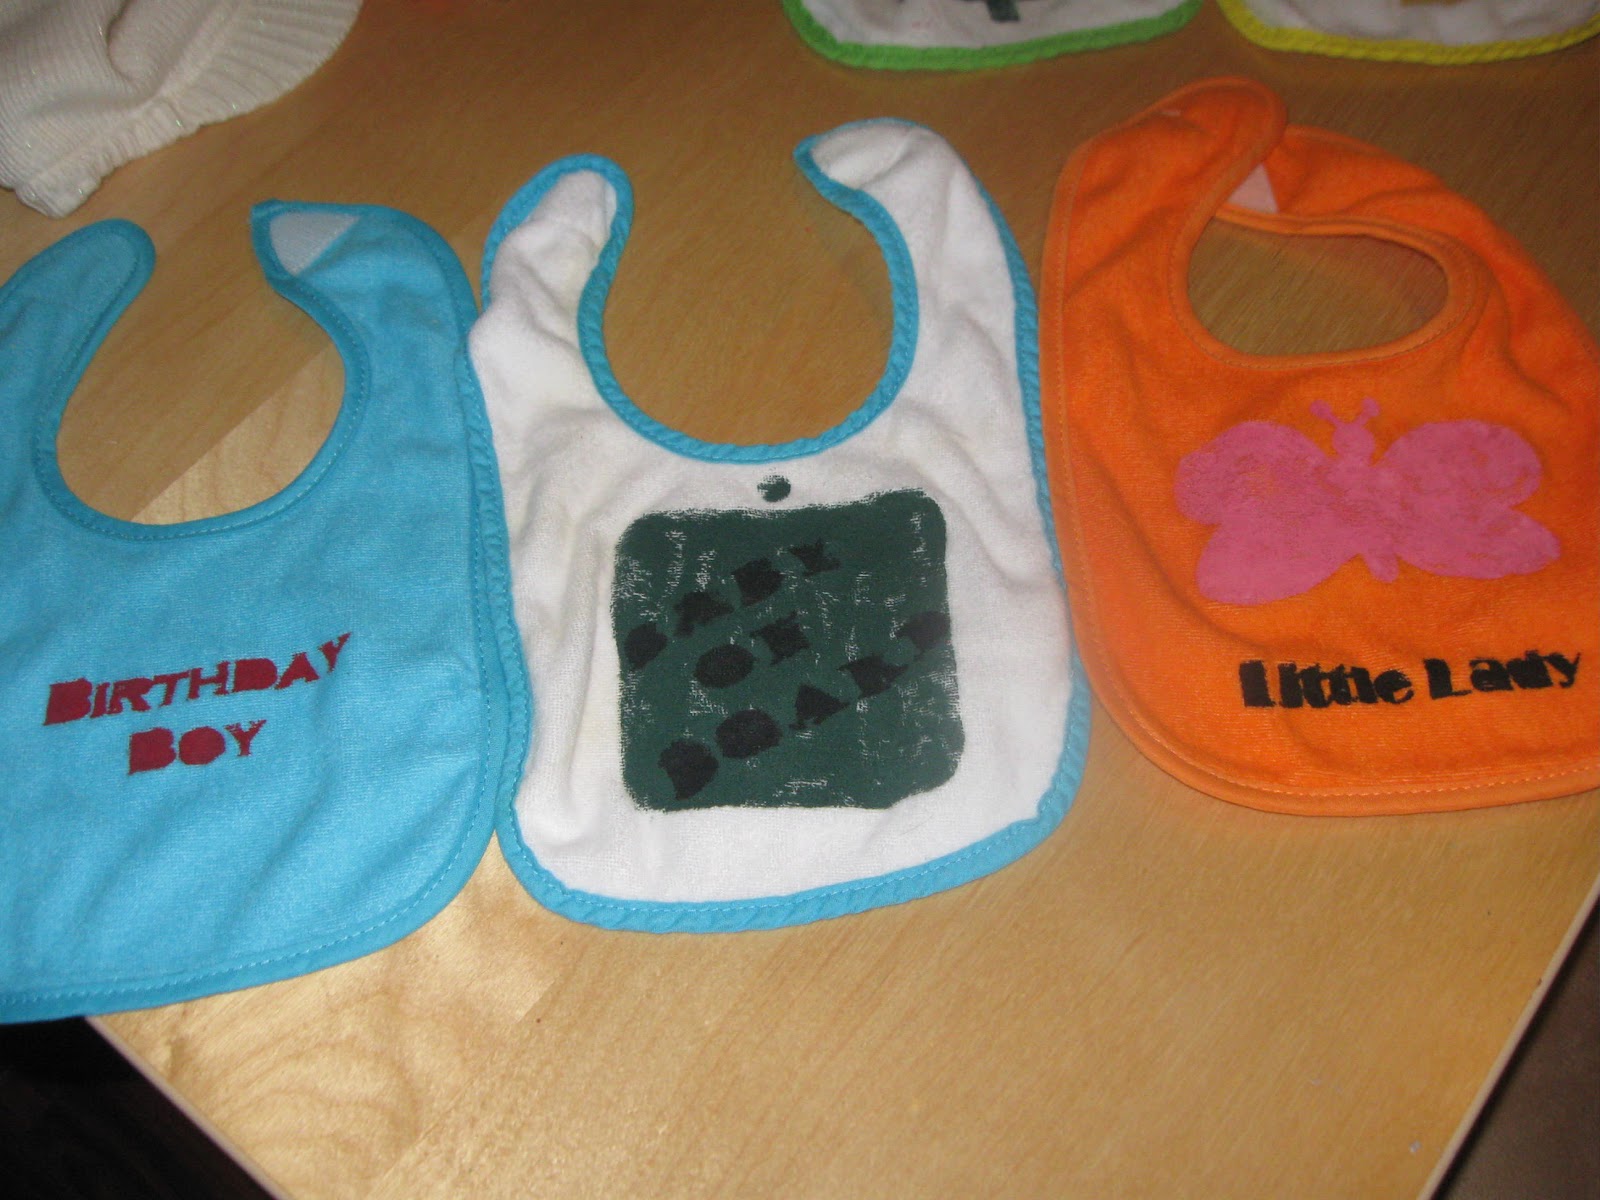 |
| Made with my Silhouette and some freezer paper: Cut designs out on Sil, or you could trace them on to freezer paper and cut out yourself. You would probably have to do simpler shapes though... Then the shiny side kinda sticks to the fabric. Iron that on for a good hold. Then use acrylic or fabric paint and dab on generously through the stencil. Make sure when you cut the big stencil, you leave room around the wording or design. I didn't realize that and it became a little tricky to paint without getting it all over. Let dry a few hours and then peel off. Instant personalized bib ( or anything really!) If doing another color like the one in the middle with green and says baby on board, you can do this stencil over the first shape now. |
 |
| Saw this on Pinterest: Canvas with my babies feet dabbed with paint. Word to the wise- use a paint brush and paint the bottom of their feet! Much less mess!:) |
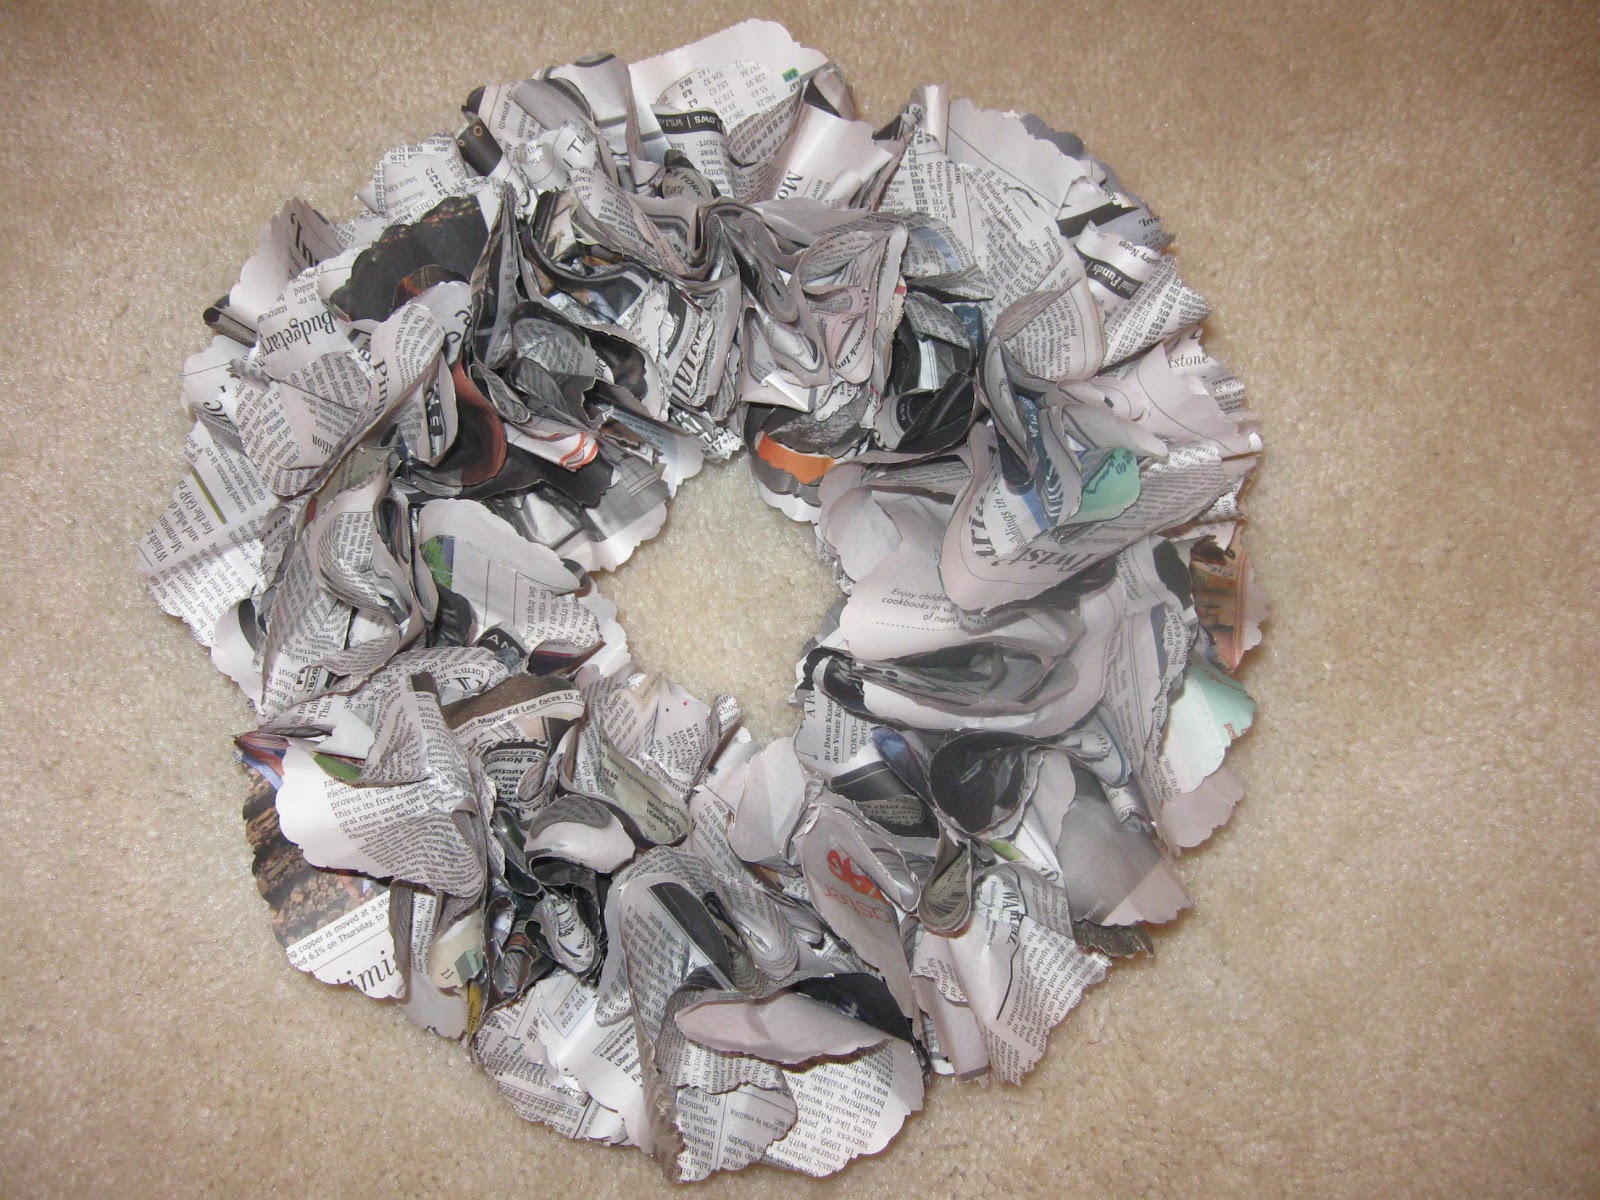 |
| Saw this on Pinterest too! How to: foam wreath, then cut out about 3'' across circle of newspaper ( a bunch!), hold in middle and have the rest flare out, hot glue the middle to the wreath, bunch a lot around- you want it to be really full. Comes together pretty quickly and is a unique looking wreath. I got lots of compliment at my craft show. Hope this encourages you that YOU can do it! Any questions, please ask. Half the time I have to stop myself at craft shows because I want to tell everyone how easy and fun it is to make them. But then I remember that I would like to make a few dollars at the show!;) |
No comments:
Post a Comment