| Looking
through Pinterest and then looking at the continuous mess on my
"learning table" -- the table where we do home school, was making me
very
frustrated. If you were to look through my boards (on Pinterest) you
would see that I have about a million organizing ideas, then a big ol'
mess on the table! So I finally decided enough was enough and got my
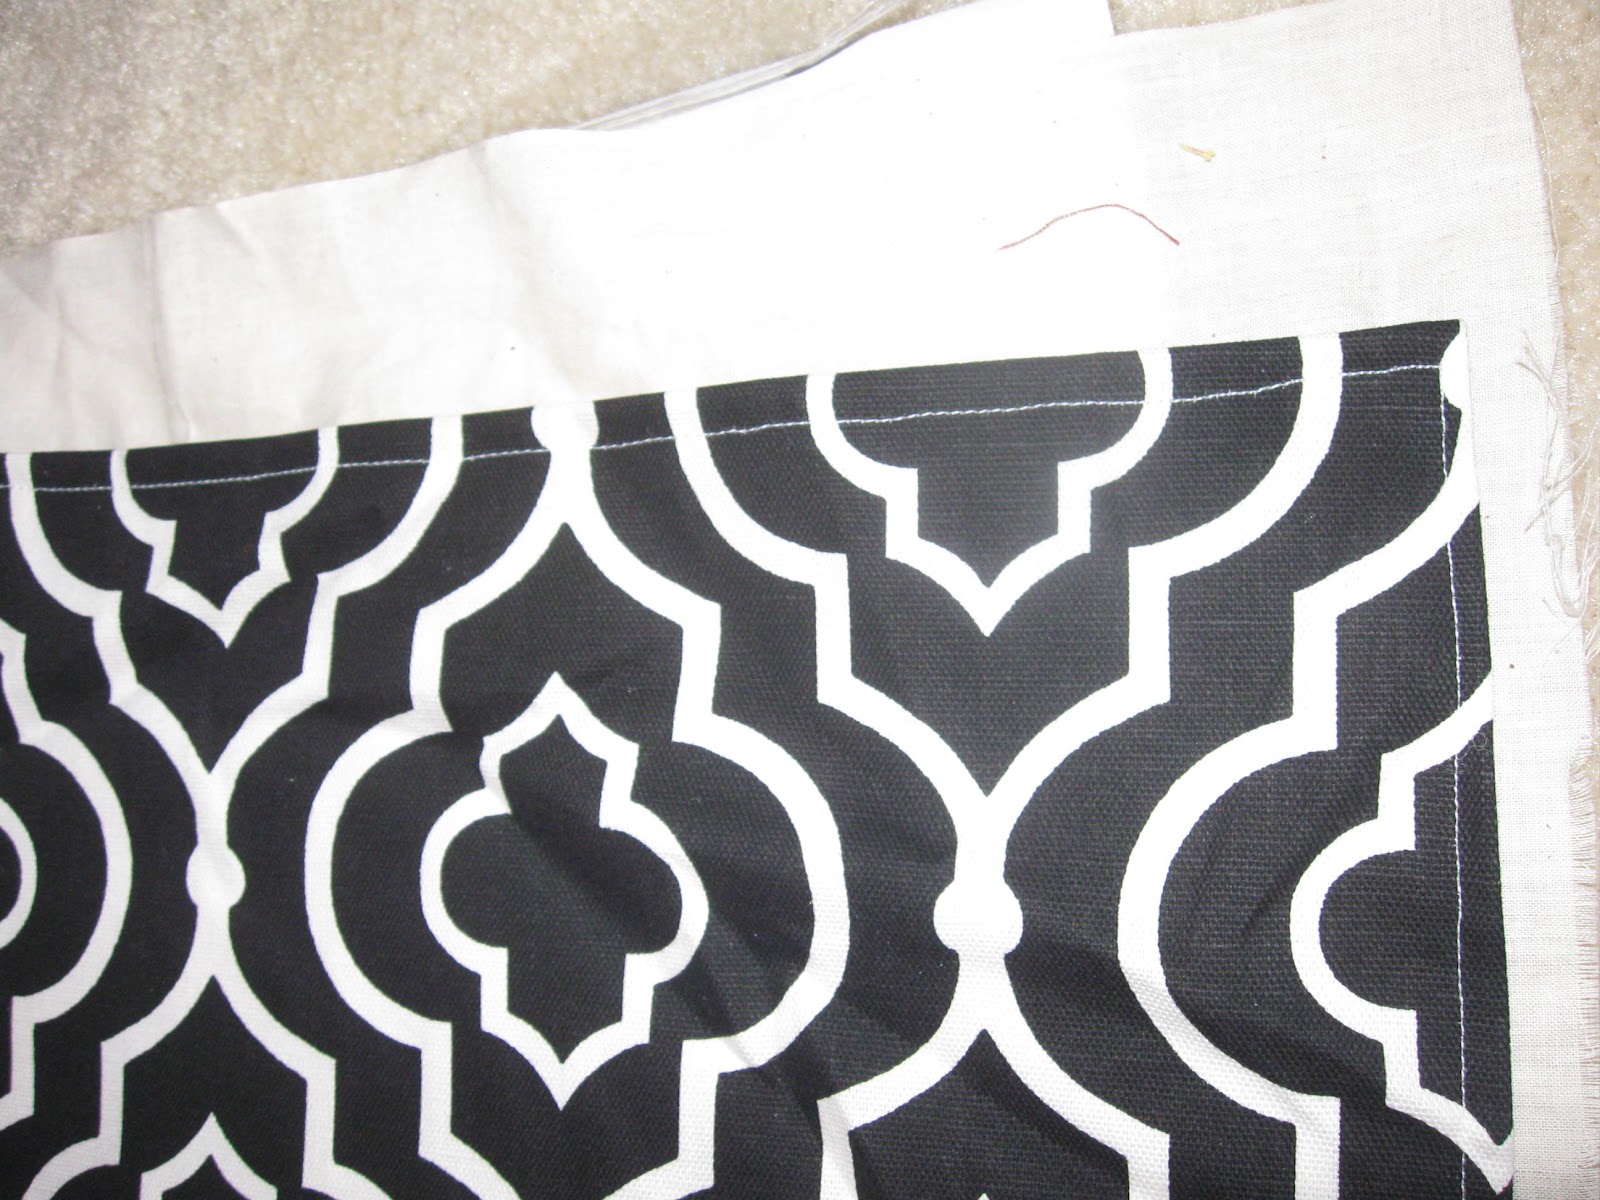
creative juices flowing. I fell in love with this fabric ( and prints
like this..) at Jo-Ann Fabric. Now, just have to find a project!! I made
up again- never perfect or exact, but
does the job! a fabric pocket organizer to hang on the side of our pantry
closet. | | | |  |
| |
 |
| I had this long piece of cardboard from a backing of a poster print. I thought it would be perfect to add a little sturdiness to the back- for free! So, I laid it out and cut out some muslin fabric to go around it. |
 |
| Then I laid out my coordinating fabric for the pockets. The measurements were a little bigger than a piece of paper sideways... Don't forget to leave a little extra for seam allowances too... |
 |
| All sewed on all around, on each rectangle... |
 |
| Fold over and sew along the side. If you don't have or want the cardboard, you could sew the bottown too. Then flip right side out and sew the top. |
 |
| Slip through the cardboard. Fold over the top, I actually taped it! |
 |
| Here it is all done!! Hanging on the side of a cabinet in our kitchen. |
| |
|
I have to confess, I have that hanging with 3M Command hooks, and after putting a lot of papers/ laminated papers for school, it fell down! So now I need to think up a better way to hang it up. I'm think something with hanging it with ribbon. It's still a good, easy idea for organizing quickly and easily. This project is not hard to sew..Just need a good hour or two to complete it. This project would work out for small books in a child's room or make the dimensions a little smaller or just do 2 pockets for a car organizer, adding a elastic to go around the head rest.


No comments:
Post a Comment